Nexus-Point Xenas
Nexus-Point Xenas is a three-boss Midnight Season 1 dungeon set in a fractured Ethereal nexus in the Eastern Voidstorm, themed around arcane circuitry, void corruption, and corrupted Light. It runs on a 30:00 Mythic+ timer and is split into three wings — the Ethereal/arcane wing (Chief Corewright Kasreth), the Void wing (Corewarden Nysarra), and the Light wing (Lothraxion), which opens via conduit teleports after the first two are cleared. The fights reward precise interrupt assignments, beam/clone awareness, and burst windows on amplify mechanics rather than raw throughput.

🧭 Overview
Nexus-Point Xenas is a compact, mechanically dense dungeon built around an Ethereal arcane nexus that has been breached by the Void and contested by corrupted Light. The layout fans out from a central hub into three wings:
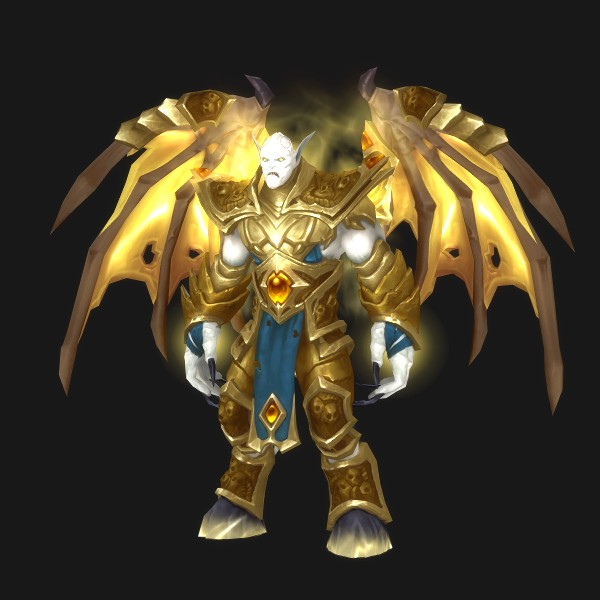
- Ethereal / Arcane wing (West) - circuitry-themed trash and Chief Corewright Kasreth, a laser-beam and detonation fight.
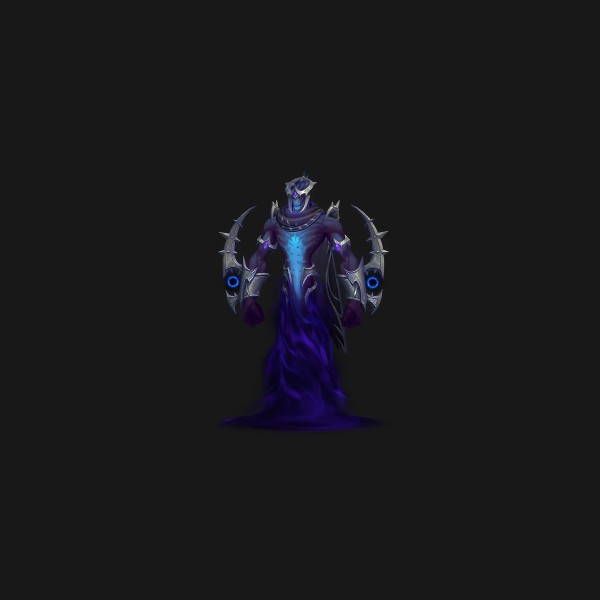
- Void wing (East) - shadow casters and ritual puddles leading to Corewarden Nysarra, an add-and-amplify fight.
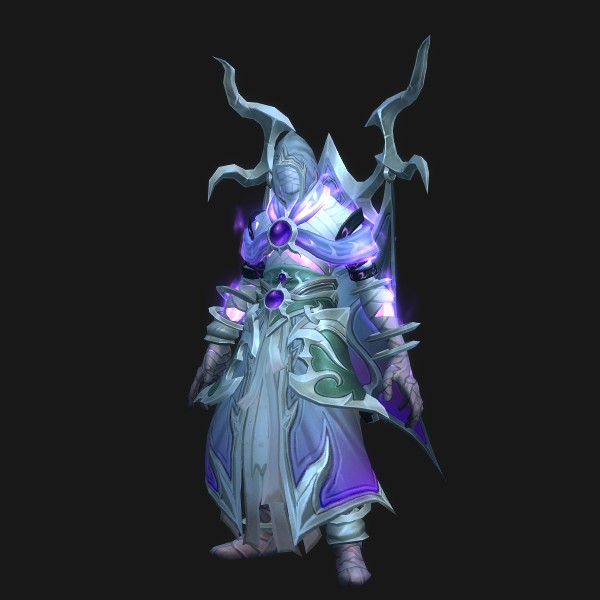
- Light wing (North) - holy-aligned echoes and Lothraxion, a clone/identity puzzle fight. This wing opens via conduit teleports only after the first two bosses are down.
The dungeon is on a 30:00 Mythic+ timer with 3 bosses. Trash here is interrupt-heavy and contains several crowd-control-immune elites, so kick assignments and pull sizing matter more than usual. The recurring theme across all three bosses is a damage-amplification or burst window (Reflux Charge beam clears, Lightscar Flare, Divine Guile) where the group must execute cleanly — mishandling those windows is the most common source of wipes and timer loss.
🗺️ Optimal Route & Pull Strategy
Standard progression is West wing (Ethereal/arcane) → East wing (Void) → North (Light) via conduit teleports, clearing each wing's required count before its boss. A popular PUG-friendly Mythic Dungeon Tools route can be imported from wago.io/sX3WNXcg5. The pulls below are the high-level sequence and the key decisions in each.
- Ethereal wing trash: pull circuitry packs in chunks of one to two groups. Assign a kick to every Nexus Adept (Umbral Bolt) and Corewright Arcanist (Arcane Explosion channel). Focus Flux Engineers first — on death they drop an active Mana Battery that must be destroyed before it explodes.
- Circuit Seer packs: Circuit Seers are CC-immune and prioritize first — they activate nearby devices and channel Arcing Mana (heavy raid damage). Kick or burst them; pre-plan a defensive for the Arcing Mana channel.
- Boss 1 — Chief Corewright Kasreth: pull when the wing count is met. Tank keeps the boss near the Leyline Arrays so the Reflux Charge carrier can clear beams quickly.
- Conduit teleport to the Void wing. Void caster trash: kick Cursed Voidcaller (Creeping Void), avoid Void Ritual / Dusk Frights puddles, and outrange Dreadflail Flailstorm fixates. Grand Nullifier trash MUST have every Nullify interrupted.
- Watch for Reformed Voidlings / Grand Nullifiers that turn into Smudges trying to awaken Nascent Dreadflails — cleave the Smudges down before they reach the Dreadflail.
- Boss 2 — Corewarden Nysarra: ensure the group has cooldowns up for the first Lightscar Flare amplify window.
- Conduit teleport to the Light wing (now open). Light trash: kick Lightwrought (Holy Bolt), CC Radiant Swarm fixates, and after killing Flarebats step out of their Holy Echo corpse explosion.
- Clear the Lingering Images on the boss platform — these CC-immune echoes (Searing Rend) must be cleared before Lothraxion jumps down.
- Boss 3 — Lothraxion: the final amplify/identity fight. Save the kick for the correct Divine Guile clone.
- Skips & efficiency: the conduit teleports are mandatory wing gates, so there is no skipping between wings — optimize by pulling tight within each wing and not over-pulling into CC-immune elites you cannot kite. On Tyrannical weeks, trim trash to the count; on Fortified weeks, larger trash pulls with strong AoE stops are favored.
💀 Bosses
Three bosses, each gated to its wing. The unifying theme is a damage-amplification or execution window you must not fumble. Save burst for Lightscar Flare; save the kick for the correct Divine Guile clone; clear beams cleanly with Reflux Charge.
🐺 Trash, Interrupts & Crowd Control
Trash here is interrupt-dense and includes several CC-immune elites, so plan kicks and stops per pull rather than relying on stuns. Several mobs are also priority kills because of what they do on death.
High-priority interrupts (assign a kicker each):
- Grand Nullifier — Nullify - interrupt EVERY cast (also appears as an add on Nysarra). The single most important kick in the dungeon.
- Circuit Seer — Arcing Mana - heavy raid-wide channel; also activates nearby devices. CC-immune, so kick or burst. Pre-plan a defensive.
- Nexus Adept — Umbral Bolt - interrupt the bolt.
- Corewright Arcanist — Arcane Explosion - interrupt the channel.
- Lightwrought — Holy Bolt - interrupt.
- Cursed Voidcaller — Creeping Void - interrupt; self-dispel the debuff if able.
Kill-priority / on-death threats:
- Flux Engineer - on death drops an active Mana Battery; destroy it before it explodes. Also casts Suppression Field — minimize movement inside it.
- Flarebat - Holy Echo corpse explosion; step out of range after it dies.
- Reformed Voidling / Grand Nullifier → Smudges - on conversion they become Smudges that try to awaken Nascent Dreadflails; cleave the Smudges before they reach the Dreadflail.
Fixates & frontals (avoid / kite):
- Dreadflail — Flailstorm / Void Lash - outrange the fixate, avoid the melee frontal. CC-immune.
- Radiant Swarm — Fixate - apply crowd control; the fixated target takes extra AoE damage.
- Grand Nullifier — Dusk Frights / Void Ritual - avoid the fear-effect ground zones and sidestep the ritual puddles.
- Duskfright Herald — Dark Beckoning - avoid the lethal frontal cone.
- Lingering Image — Searing Rend - tank buster on a CC-immune echo; clear these before Lothraxion drops.
Tank-tracked debuffs: Shadowguard Defender — Null Sunder stacks; watch the count and use active mitigation as it climbs.
🌀 Seasonal Affixes in This Dungeon
Midnight Season 1 layers affixes by keystone level: +2 to +4 add Lindormi's Guidance (route help for learners); +5 to +11 add one weekly Xal'atath's Bargain kiss-curse; +7 to +9 alternate Fortified/Tyrannical; +10+ run both at once; and +12+ swap the Bargain for Xal'atath's Guile, which adds +15s to the timer per player death.
How each rotating Bargain plays here:
- Ascendant - Orbs of Ascendance buff enemies (+20% move/Haste) if uninterrupted, or grant players +2% move/Haste per cast prevented. This dungeon already demands a lot of kicks (Nullify, Arcane Explosion, Arcing Mana) — assign a dedicated orb interrupter so boss kicks don't slip.
- Voidbound - a Void Emissary empowers nearby enemies; kill it in time for +30% cooldown rate and +20% Versatility. Great to line up with a Lightscar Flare burn window on Nysarra.
- Pulsar - tethered orbs must be soaked for Mastery/Leech; unsoaked orbs give enemies +10% damage and 20% DR. Soaking is awkward during beam-heavy phases (Kasreth's Leyline Array) and Lothraxion's Fractured Image hazards — pre-assign soakers and don't soak while crossing a beam.
- Devour - Devouring Rift applies shield debuffs removable by healing/dispel, granting +2% max HP and +4% Crit. Layers onto Kasreth's Sparkburn/Corespark healing absorb — coordinate dispels with the absorb timing.
🎁 Notable Loot
| Boss | Notable Drops | Slot / Type |
|---|---|---|
| Chief Corewright Kasreth | Corespark Multitool | Staff |
| Chief Corewright Kasreth | Reflux Reflector | Shield |
| Chief Corewright Kasreth | Fluxweave Cloak | Back |
| Chief Corewright Kasreth | Kasreth's Bindings | Plate wrist |
| Chief Corewright Kasreth | Corewright's Zappers | Leather hands |
| Chief Corewright Kasreth | Leyline Leggings | Cloth legs |
| Corewarden Nysarra | Dreadflail Bludgeon | 1H mace |
| Corewarden Nysarra | Whisper of the Duskwraith | Trinket |
| Corewarden Nysarra | Omission of Light | Ring |
| Corewarden Nysarra | Nysarra's Mantle | Cloth shoulder |
| Corewarden Nysarra | Corewarden Cuffs | Mail wrist |
| Corewarden Nysarra | Lightscarred Cuisses | Plate legs |
| Corewarden Nysarra | Eclipse Espadrilles | Leather feet |
| Lothraxion | Mark of Light | Trinket |
| Lothraxion | Occlusion of Void | Ring |
| Lothraxion | Radiant Slicer | Dagger |
| Lothraxion | Searing Spaulders | Plate shoulder |
| Lothraxion | Maledict Vest | Leather chest |
| Lothraxion | Fractured Fingerguards | Cloth hands |
| Lothraxion | Greaves of the Divine Guile | Mail legs |
💡 Role Tips & Common Wipe Causes
- TANK — Kasreth: keep the boss near the Leyline Arrays so the Reflux Charge carrier has a short walk to clear beams. Don't drag the group through beams.
- TANK — Nysarra: pre-plan a major defensive for Umbral Lash; after Void Gash (+50% damage taken, 10s) avoid taking extra hits and let it fall off.
- TANK — Lothraxion: defensive Searing Rend and drag its puddle away from the group. Track Null Sunder stacks on trash.
- HEALER — bank a cooldown for Kasreth's Sparkburn/Corespark Detonation (healing absorb), Nysarra's Lightscar Flare window, and each Brilliant Dispersion on Lothraxion.
- HEALER — dispel Transference / Creeping Void promptly and remove Burning Radiance debuffs; prep for sustained AoE during Circuit Seer's Arcing Mana.
- DPS — interrupts win this dungeon: every Nullify, Arcing Mana, Umbral Bolt, Arcane Explosion, and Holy Bolt needs a kicker. Build a rotation so the boss kicks (esp. Divine Guile) never slip.
- DPS — save burst for the amplify windows: Lightscar Flare (up to 300% damage) on Nysarra is the make-or-break burn.
- DPS — on Lothraxion's Divine Guile, target the Image WITHOUT horns and interrupt only that one. Kicking the wrong shade triggers Core Exposure (massive party damage).
- ALL — destroy the Flux Engineer's Mana Battery on death, step out of Flarebat Holy Echo explosions, and cleave Smudges before they wake Nascent Dreadflails.
- COMMON WIPE CAUSES: kicking the wrong Divine Guile clone (Core Exposure); a missed Grand Nullifier Nullify; failing to kill Nysarra's adds before the phase ends (Devour the Unworthy); crossing Leyline beams or standing in Corespark/Flux Collapse zones; over-pulling CC-immune trash (Circuit Seer, Dreadflail, Lingering Image) you cannot stun or kite.