Seat of the Triumvirate
Seat of the Triumvirate returns from Legion's Argus campaign as one of the longest dungeons in the Midnight Season 1 rotation, with a 34-minute Mythic+ timer set deep inside the void-corrupted halls of Eredath. The run is defined by void-themed area-denial (puddles, bombs, rotating beams) and several hard interrupt and crowd-control checks on caster trash. The four bosses — Zuraal the Ascended, Saprish, Viceroy Nezhar, and L'ura — each force the group to manage spawning adds or void objects while answering recurring tank busters and group-wide Shadow burst. Healers should expect this to be one of the heavier HPS dungeons in the pool, especially the L'ura intermissions.

🗺️ Overview
Seat of the Triumvirate is a four-boss Legion dungeon on Argus, returning for Midnight Season 1. It is one of the longest keys in the pool — the Mythic+ timer is 34 minutes — so route discipline and avoiding deaths (which add 15s + lost momentum) matter more here than in shorter dungeons.
The dungeon's identity is void-themed area denial and add/object management:
- Puddles & circles - Zuraal, Saprish and L'ura all litter the floor with persistent void zones. Drop them at the edges to preserve space.
- Soak / beam objects - Saprish's Void Bombs and L'ura's Notes of Despair must be actively removed by the group, not ignored.
- Spawning adds - Coalesced Void oozes (Zuraal), boss pets (Saprish), and Umbral Tentacles (Nezhar) all demand CC or fast cleave.
Most boss damage is Shadow, so magic-damage-reducing defensives and healer cooldowns line up perfectly with the predictable burst windows. Trash is interrupt-heavy — bring at least two reliable kicks and assign them.
🧭 Optimal Route & Pull Strategy
Seat is mostly linear: each boss is gated by a fixed pre-boss trash group, so there is limited room to skip. Optimize by chaining caster packs into the gating groups, dropping void zones at edges, and never over-pulling into a CC-immune set. Import a PUG route via Mythic Dungeon Tools (Method's PUG route: wago.io/9uOEdPCaw).
- Opening trash to Zuraal: clear caster packs, kicking Dark Conjuror's Summon Voidcaller every cast and swapping to any Bound Voidcaller (Pulsing Void) immediately.
- Zuraal gate: the four Merciless Subjugators are CC-immune — spread for Chains of Subjugation and focus/interrupt Leeching Void. Kill all four, then pull Zuraal the Ascended.
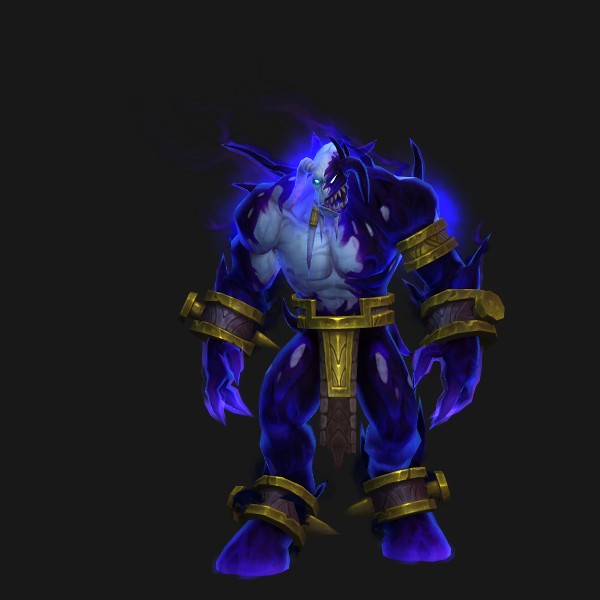
- Boss 1 — Zuraal the Ascended.
- Path to Saprish: the four Rift Wardens hold fixed positions and are CC-immune. Stabilize a single rift and burn the Warden within 30yds before it explodes; dispel/defensive the Rift Essence debuff.
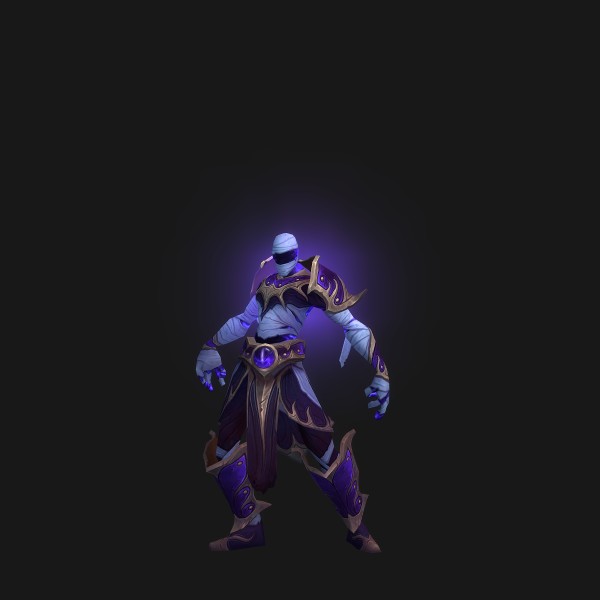
- Boss 2 — Saprish.
- Path to Viceroy Nezhar: handle Dire Voidbender (interrupt or purge Abyssal Enhancement), Void-Infused Destroyer (split Eruption targets, dodge Void Cleave frontal), and Ruthless Riftstalker (interrupt Shadowmend healing). This is the densest interrupt stretch of the dungeon.
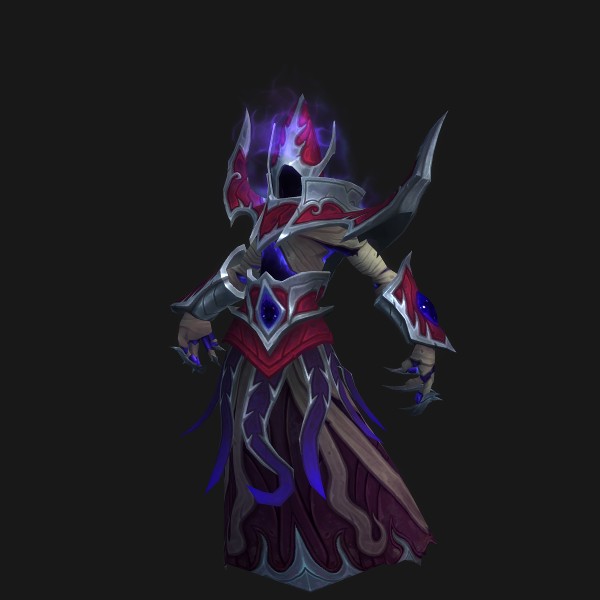
- Boss 3 — Viceroy Nezhar.
- Final approach: Grand Shadow-Weaver packs (Umbral Waves, Void Infusion) before the throne — pop personals and clear cleanly so you reach L'ura with cooldowns up.
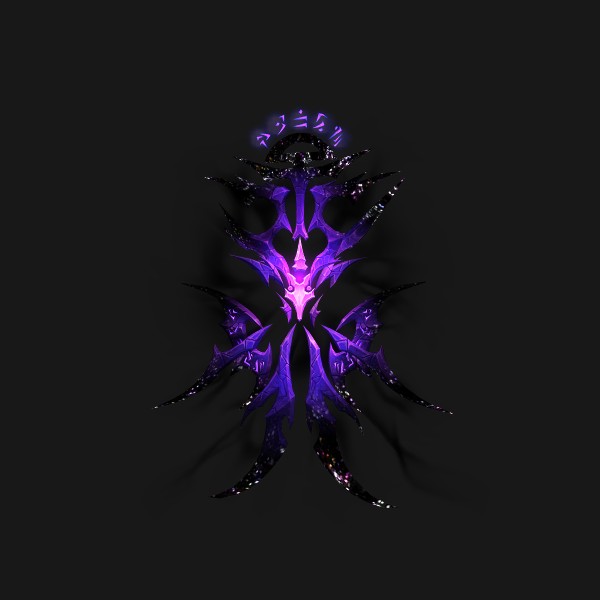
- Boss 4 — L'ura. Save a lust/hero and burst cooldowns for the Siphon Void increased-damage window.
💀 Bosses
Four bosses, all Void/Shadow-themed. Each has a recurring tank buster, a spawn/object mechanic the whole group must answer, and a group-wide burst that lines up with defensives.
⚔️ Dangerous Trash & Priorities
Seat is an interrupt-and-positioning dungeon more than a CC dungeon — several key packs are CC-immune, so kicks and target priority carry the run.
- Merciless Subjugator (Zuraal gate) - CC-immune, four of them. Chains of Subjugation — spread out to avoid the cleave; Leeching Void — an absorb you should focus down / interrupt.
- Bound Voidcaller - Pulsing Void deals constant group damage — swap to and kill it immediately.
- Dark Conjuror - Summon Voidcaller must be interrupted every cast, or the pack snowballs with extra adds.
- Rift Warden (Saprish gate) - CC-immune, fixed positions. Stabilize one rift and kill the Warden within 30yds or the rift explodes for lethal damage; dispel or defensive the Rift Essence magic debuff.
- Ruthless Riftstalker - Backstab teleports it behind a player; Shadowmend self-heal must be interrupted or it never dies.
- Dire Voidbender - Abyssal Enhancement self-buff — interrupt it or purge/dispel it off, otherwise its damage spikes hard.
- Void-Infused Destroyer - Eruption targets two players (spread so you don't cleave each other) and Void Cleave is a frontal — keep it faced away from the group.
- Grand Shadow-Weaver (pre-L'ura) - Umbral Waves to dodge and Void Infusion group damage; pop personals and clear cleanly so you enter the final boss with cooldowns up.
🔮 Seasonal Affix Interactions
Layered on top of the standard scaling, the seasonal affixes interact with Seat's heavy add and area-denial design as follows:
- Fortified weeks - This dungeon's trash is the dangerous part, and Seat's trash is interrupt-gated (Conjurors, Voidbenders, Riftstalkers) and includes CC-immune gate groups. On Fortified, be extra disciplined about kick assignments and avoid over-pulling caster packs into the Subjugator/Rift-Warden sets.
- Tyrannical weeks - Bosses hit much harder. The Saprish Umbral Nova / Overload phase and the L'ura Dirge of Despair + Notes pulse become serious HPS checks; pre-plan healer cooldown rotation for each and make sure every Note breaks on time.
- Add/spawn-summoning affixes - Extra spawns stack badly with mechanics that already add adds (Zuraal's Coalesced Void oozes, Nezhar's Umbral Tentacles). Bank AoE stops and your group's slows for those windows.
- Damage-pulse / persistent-ground affixes - Seat already floors you with puddles (Decimate), circles (Grim Chorus) and waves (Gates of the Abyss). Drop boss puddles at the edges to keep the middle clean and reduce overlap with affix zones.
🎁 Notable Loot
- Ampoule of Pure Void (trinket, from Zuraal) — a sought-after M+ trinket also referenced in spec gear lists.
- Umbral Spire of Zuraal (staff) and Breastplate of the Dark Touch (plate chest) — Zuraal the Ascended.
- Wand of Saprish's Gaze and Voidbender Robe (cloth chest) — Saprish.
- Grips of the Dark Viceroy (fist weapon), Crown of the Dark Envoy (plate head), and Reality Breacher (trinket) — Viceroy Nezhar.
- Scepter of the Endless Night (1H mace), Vest of the Void's Embrace (leather chest), and Echo of L'ura (trinket) — L'ura.
- As with all Season 1 dungeons, the end-of-run Great Vault slot and weekly key rewards are the main reason to chain this key for gearing.
📌 Role Tips & Common Wipe Causes
- TANK: Face Zuraal and Void-Infused Destroyer away from the group (Null Palm cone, Void Cleave frontal). Pre-mitigate the recurring busters — Void Slash, Rending Void, Mind Blast, Abyssal Lance — every cast, and use a major cooldown at high Abyssal Lance stacks.
- TANK: On Nezhar, position the boss near the Umbral Tentacles for cleave and get directly under the boss during Collapsing Void; on Saprish, stack the boss with both pets so the group cleaves the shared health pool.
- HEALER: This is a high-HPS dungeon — pre-heal before Saprish's Overload/Umbral Nova and ramp for L'ura's Dirge of Despair, where six Notes pulse until silenced. Save a cooldown for Nezhar's Mass Void Infusion and the Collapsing Void channel.
- HEALER: Be ready to dispel the Rift Essence magic debuff on the Saprish gate and cleanse/cover the Shadow Pounce bleed from Saprish's Darkfang pet.
- DPS: Kicks win this dungeon — interrupt Dark Conjuror's Summon Voidcaller and Dire Voidbender's Abyssal Enhancement every cast, interrupt Ruthless Riftstalker's Shadowmend, and rotate kicks on Saprish's Dread Screech. Swap instantly to any Bound Voidcaller (Pulsing Void).
- DPS: Cleave Zuraal's Coalesced Void oozes before Crashing Void, burn Nezhar's Umbral Tentacles fast, and hold burst + lust for L'ura's Siphon Void increased-damage window after all six Notes are silenced.
- COMMON WIPES: a Coalesced Void ooze reaching Zuraal during Crashing Void; leftover Void Bombs detonating into Umbral Nova; a missed Dread Screech disorient; failing to silence all six Notes of Despair so the pulse keeps stacking with Anguish; and standing in Disintegrate beams or Gates of the Abyss waves.