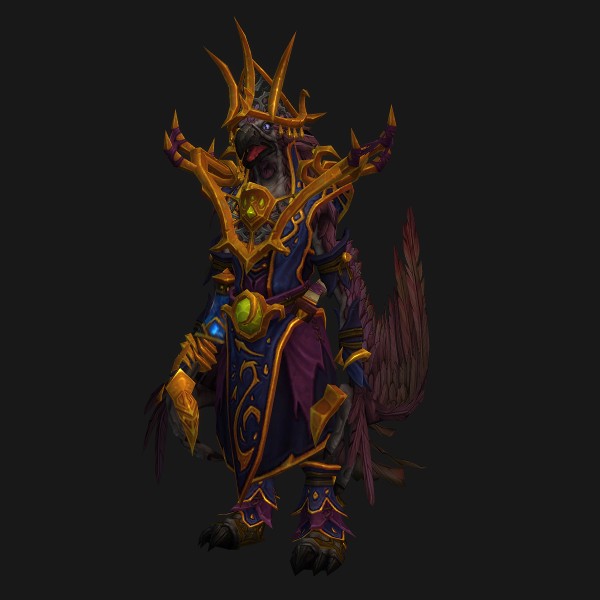
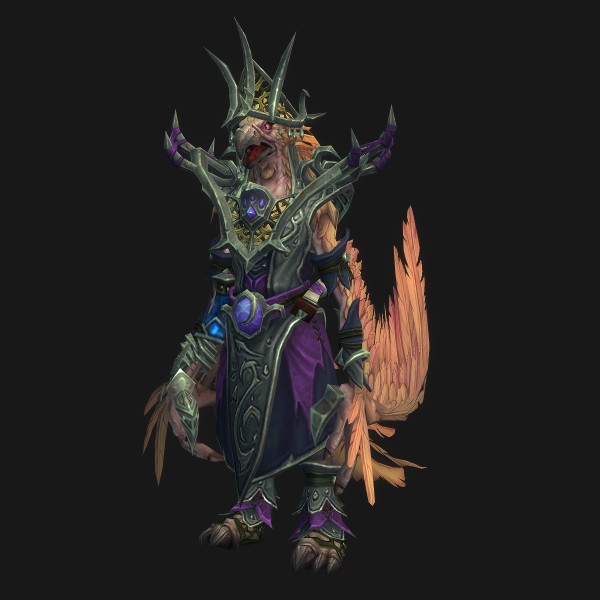
Skyreach
Skyreach is a fast, vertical Warlords of Draenor dungeon set high in the Spires of Arak, returning as a Midnight Season 1 Mythic+ map. It is built around four bosses — Ranjit, Araknath, Rukhran, and High Sage Viryx — and is defined by knockback edges, line-of-sight quill mechanics, and a DPS-accountability beam-soak fight on Araknath. The trash is interrupt-heavy and features several crowd-control-immune elites that punish loose pulls, so kick discipline and edge awareness matter more than raw throughput.

🗺️ Overview
Skyreach is a compact, mostly linear dungeon perched on wind-swept platforms — which means knockbacks and fall deaths are a recurring theme on Ranjit, High Sage Viryx, and several trash packs. There are no long branching routes; the optimal path is essentially a straight climb with a couple of optional skips. The difficulty lives in three places: surviving the beam-soak DPS check on Araknath, holding tight positioning through Rukhran's line-of-sight quills, and the interrupt/crowd-control load of the trash.
- Bosses - Ranjit → Araknath → Rukhran → High Sage Viryx (final).
- Theme - Arakkoa Adherents of the Sun (Solar/Fire magic) plus wind-caller adds; expect Fire and Physical damage with edge-knockoff risk throughout.
- Length - Short and dense. Most pulls are interrupt checks, not damage walls — until Fortified weeks.
🧭 Route & Pull Strategy
Skyreach is near-linear: a climbing path of platforms and stairs with two boss "gauntlets" of solar trash. Pull in deliberate chunks because nearly every pack has an interrupt or a knockback. Import a current Mythic Dungeon Tools (MDT) route for your week's percentage; the path below is the canonical flow.
- Clear the opening wind-caller trash on the entry platforms. Interrupt every Driving Gale-Caller Repel (mass knockback toward the edge) and use defensives into Raging Squall's Wrathful Wind. Watch positioning so a missed kick can't fling someone off.
- Pull Ranjit (Boss 1). Keep melee behind/around the boss for Wind Chakram and bait Gale Surge away from the open edges.
- Climb toward Araknath through the Adherent/Solar trash. Interrupt Initiate of the Rising Sun (Solar Bolt) and Blinding Sun Priestess (Blinding Light). Kill Solar Elemental's spawned Solar Orb on sight and dodge Solar Construct's Solar Nova/Solar Flame.
- Pull Araknath (Boss 2) in the construct chamber. Assign beam-soakers before engaging — this is the dungeon's DPS-accountability check.
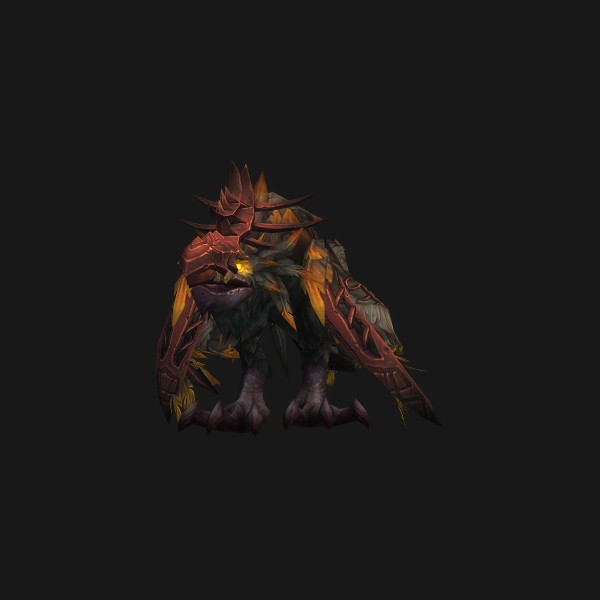
- Take the spiral path up to Rukhran. The Adorned Bladetalon packs here are the most dangerous trash — they are CC-immune and stack heavy tank damage; pull them isolated and pre-plan defensives/bleed cleanses.
- Pull Rukhran (Boss 3). Hold tight melee positioning and use the central pillar for Searing Quills line-of-sight.
- Clear the final ascent of solar trash to the summit. Crowd-control or kite Suntalon Tamer's Mark of Death targets so nearby Suntalons don't go Bloodcrazed.
- Pull High Sage Viryx (Boss 4, final) on the top platform. Pre-assign the Cast Down stun and keep ranged spread for Scorching Ray.
- Skips/notes: There are no large mandatory detours. The main "skip" choices are trimming optional Dread Raven or extra Adherent packs once you have enough enemy forces — let MDT count drive which packs you drop.
💀 Bosses
Four bosses. Araknath is the mechanical centerpiece (beam soaking); the other three are positioning/interrupt fights with knockback edges to respect. Abilities and handling below.

🗡️ Trash, Interrupts & Crowd Control
- Driving Gale-Caller — INTERRUPT every Repel (a mass knockback that shoves the whole group, often toward an edge). Highest-priority kick on the entry platforms; a missed Repel can throw players off.
- Blinding Sun Priestess — INTERRUPT Blinding Light (group disorient). Reliable kick target in the solar packs.
- Initiate of the Rising Sun — INTERRUPT Solar Bolt (hard-hitting nuke). Frequent caster; rotate kicks across the team.
- Adorned Bladetalon — HARDEST trash, CC-IMMUNE. Blade Rush dashes to multiple players and the tank applying bleeds, and Shear stacks heavy tank damage on top. Pull isolated, pre-plan tank defensives, and cleanse bleeds. This is the single most dangerous tank moment in the dungeon.
- Dread Raven — CC-IMMUNE. Dire Screech is a heavy group hit (use defensives) and Dread Wind is a random knockback hazard — keep clear of edges. Often a skippable/optional pack; let your route's enemy-forces count decide.
- Solar Elemental — CC-IMMUNE. Kill the spawned Solar Orb immediately (it detonates/empowers if left up) and avoid the Solar Fire circles it leaves on the ground.
- Solar Construct — CC-IMMUNE. Exit the Solar Nova AoE and use defensives (or a combat-drop like Vanish/Feign Death) against Solar Flame.
- Suntalon Tamer — CROWD-CONTROL or kite the Mark of Death target. If a marked Suntalon dies near other Suntalons (or the mark resolves) nearby Suntalons go Bloodcrazed (enraged) — CC/kite to prevent the chain enrage; dispel the Enrage if you can.
- Raging Squall — use defensives during Wrathful Wind and avoid the Wind Blast explosion; another knockback-flavored caster on the early platforms.
- General rule: this dungeon is interrupt-dense. Assign primary/secondary kickers before each gauntlet, treat the CC-immune elites (Bladetalon, Dread Raven, Solar Elemental, Solar Construct) as pure tank-and-burn with defensives, and never fight wind-callers with your back to an edge.
🌀 Seasonal Affixes in Skyreach
Midnight Season 1 layers affixes by keystone level: Lindormi's Guidance (+2) marks priority targets and removes the death penalty; Xal'atath's Bargain rotates weekly at +5 (Ascendant / Voidbound / Pulsar / Devour); Fortified or Tyrannical alternates at +7 and both apply at +10; and at +12 Xal'atath's Guile replaces the Bargain so each death cuts 15 seconds from the timer.
- Pulsar - tethered Void orbs orbit players for 15s; drag your orb over an ally to soak it (party gains Mastery + Leech) before it expires, or enemies gain +10% damage and 20% DR per un-soaked orb. The 15s window is generous — stack in melee/ranged clusters and clear orbs as a group between pulls. On Araknath, soak orbs WITHOUT abandoning your beam, and on edge platforms don't let an orb chase you off the side.
- Ascendant - interrupt the summoned orbs' cast to deny the enemy haste/move-speed buff and gain it for the group instead. Skyreach is already kick-heavy, so add these to your interrupt assignments.
- Voidbound - burn the Void Emissary fast for group cooldown reduction + Versatility; treat it as a priority add inside whatever pack it spawns.
- Devour - a removable shield is applied to all players; dispel/heal it off for stacking Critical Strike. Healers and dispel classes drive this.
🎁 Notable Loot
| Boss | Notable Drops |
|---|---|
| Ranjit | Two-Handed Sword, One-Handed Sword, Crossbow, Back (cloak), Cloth Legs |
| Araknath | Staff, Dagger, Plate Head, Cloth Shoulder, Mail Chest, Leather Boots, Trinket |
| Rukhran | One-Handed Sword, Fist Weapon, Off-Hand, Leather Shoulder, Cloth Wrist, Plate Hands, Mail Boots, Trinket |
| High Sage Viryx | Polearm, Fist Weapon, Shield, Mail Head, Plate Shoulder, Leather Chest, Cloth Feet, Trinket |
| End-of-dungeon | Great Vault slot + Mythic+ track gear scaled to keystone level; trinkets from Araknath/Rukhran/Viryx are the main targets for most specs. |
🎯 Role Tips & Common Wipe Causes
- TANK — Drift Ranjit so melee aren't in the Wind Chakram return lane; point Araknath's Fiery Smash away from beam-soakers; stay glued in melee on Araknath (Blast Wave) and Rukhran (Screech); save big defensives for Adorned Bladetalon's Shear/Blade Rush and Rukhran's Burning Claws.
- HEALER — Pre-top before Araknath's Supernova (it scales with un-blocked beams) and during Ranjit's Fan of Blades; spot-heal beam-soakers and Burning Pursuit targets; commit a cooldown for the Sunwing pulse; track Scorching Ray's repeat targets on Viryx; cleanse bleeds (Fan of Blades, Blade Rush) and dispel Enrage on Bloodcrazed Suntalons when possible.
- DPS — Interrupts are your job here: Driving Gale-Caller Repel, Initiate Solar Bolt, Blinding Sun Priestess Blinding Light, and Viryx's Solar Blast. SOAK your assigned Araknath beam without flinching, kill Solar Orbs/Solar Elemental spawns instantly, and pre-stun the Cast Down add on Viryx so no one gets carried off.
- EVERYONE — Respect the edges. Anti-knockback and movement cooldowns are gold on Ranjit (Gale Surge/Vortex), the wind-caller trash (Repel), and Viryx (Cast Down/Lens Flare).
- Common wipe causes — (1) Knocked or chakram-clipped off Ranjit's platform; (2) Ignored beams → oversized Araknath Supernova; (3) Standing in Searing Quills without breaking LoS, or pulling Rukhran out of melee (Screech); (4) A player carried off the balcony by an un-stunned Cast Down add; (5) Loose-pulling the CC-immune Adorned Bladetalon into another pack with no defensives banked.