Windrunner Spire
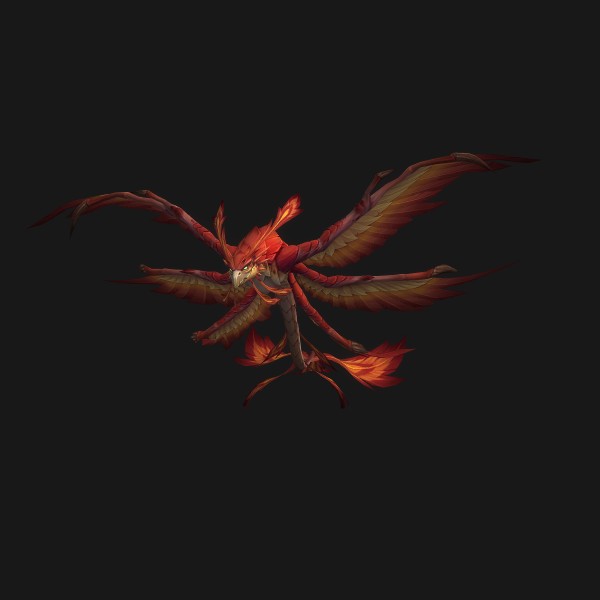
Windrunner Spire is a four-boss Midnight Season 1 dungeon set in the ancestral home of the Windrunner family in southwest Eversong Woods, where the banshee Kalis and her fanatics have come hunting relics tied to the Dark Lady. It is a tight, cohesion-heavy key: lots of interrupt-hungry casters and steady-pulsing melee packs punish spread-out, sloppy play, and the back half ramps into a precision-style finale. Bosses run Emberdawn, the Derelict Duo (Kalis & Latch), Commander Kroluk, and The Restless Heart. Master the fire-zone stacking on boss one and the arrow mechanics on boss four and the rest of the key is execution.

🗺️ Overview
Windrunner Spire sits in southwest Eversong Woods, perched above the Ruins of Deatholme, with the entrance near 64.4, 61.8. Lore-wise you are pushing through the Windrunner family's ancestral home while the banshee Kalis and her fanatical followers ransack it for relics tied to Sylvanas. Mechanically it is a cohesion dungeon: most packs mix interrupt-hungry casters with melee that deal steady, pulsing group damage, so loose-but-coordinated stacking and a disciplined kick rotation carry the run.
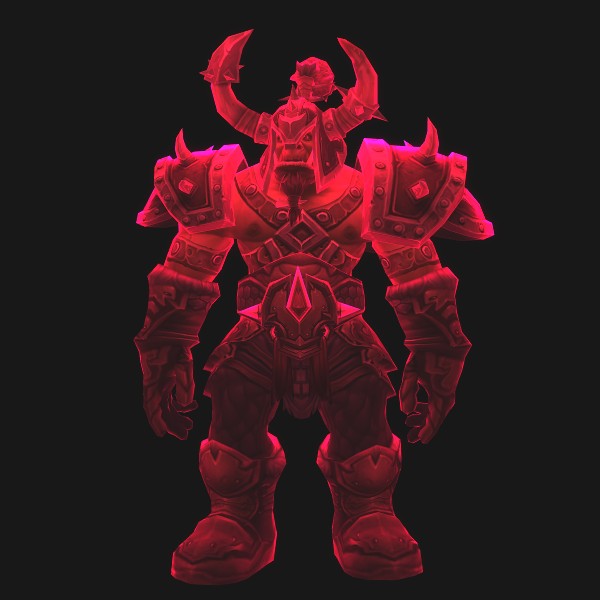
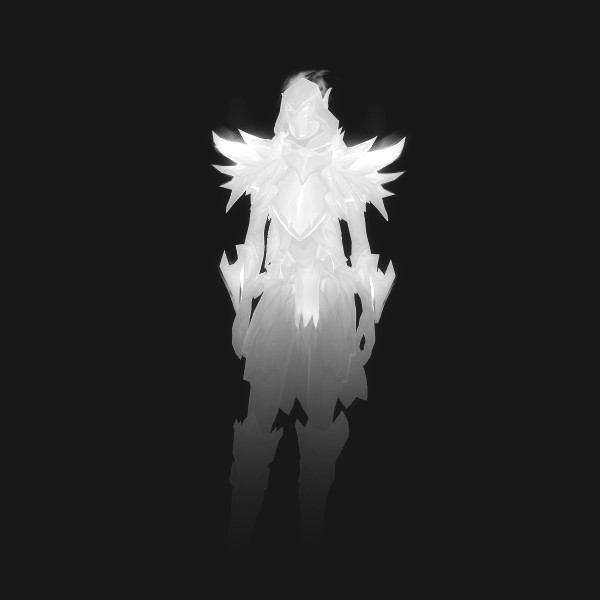
- Boss order - Emberdawn → Derelict Duo (Kalis & Latch) → Commander Kroluk → The Restless Heart.
- Difficulty curve - Front half is forgiving; the back half ramps. Kroluk is a hard DPS/interrupt check on his add phases and The Restless Heart is the most mechanically demanding fight in the dungeon, with a no-decay stacking DoT that punishes complacency.
- Trash density - Moderate. There is meaningful skip/route flexibility, but most pulls require active interrupts and tight positioning rather than blind AoE.
🧭 Optimal Route & Pull Strategy
Default direction is north-first to Emberdawn, then loop back through the Spire's interior to the Derelict Duo, Commander Kroluk, and finally up to The Restless Heart. Import a current MDT route for exact pull counts; treat the steps below as the strategic spine. Pull caster-heavy packs into a wall and never engage two caster groups at once unless you have the interrupts to cover every cast.
- Clear the opening garden trash (Groundskeepers, Restless Stewards, the first Spellguard Magus). Assign permanent kick partners now — Spirit Bolt and Chain Lightning must never go off.
- Push north to Emberdawn first. Before engaging, agree on a single designated corner where every Flaming Updraft puddle will be dropped so the rest of the arena stays clear.
- After Emberdawn, loop back into the Spire interior. Link manageable caster + melee packs; pull them to a wall so knockbacks (Phalanx Breaker's Break Ranks, Spellguard knockbacks) don't scatter the group.
- Reach the Derelict Duo. This is a two-boss fight — keep both health bars even from the start of the engage, not just at the end.
- Continue toward Commander Kroluk. Save cooldowns and interrupts — his 66% and 33% add waves (Rallying Bellow) are the dungeon's main DPS-plus-interrupt check.
- Push up to The Restless Heart on the rooftop. Pre-mark a stack point and rehearse who calls the Turbulent Arrows / Bullseye Windblast jumps before pulling.
- Skips: most isolated patrolling beasts and side rooms can be skipped or single-pulled with CC. Prefer skipping a redundant caster pack over risking an over-pull that outruns your interrupts. Use displacements (Ring of Peace, Typhoon, Death Grip) to reposition patrols rather than fighting them in the open.
💀 Bosses
Four encounters. Each entry lists the key abilities and exactly how to handle them. Ability names are quoted as they appear in-game; where a number is uncertain it is described qualitatively rather than invented.
🩸 Dangerous Trash & Priority Kicks/CC
This dungeon is an interrupt dungeon. Assign permanent kick partners before the first pull and never engage more casters than your stops can cover. The dangerous packs:
- Restless Steward - interrupt Spirit Bolt on every cast; use a stop/CC on Soul Torment, and magic-dispel it off players if it lands.
- Phantasmal Mystic - interrupt Chain Lightning (top kick priority on its packs); pre-defensive before Flame Nova. It can enrage near 50% (Ephemeral Bloodlust) — soothe/Enrage-dispel it.
- Spellguard Magus - drops a protection sphere granting ~99% damage reduction; knock other mobs OUT of the sphere so they don't become unkillable, and defensive its Arcane Salvo.
- Devoted Woebringer - applies an absorb shield during Pulsing Shriek; burn the shield down immediately or the cast goes off. Focus-target it.
- Territorial Dragonhawk - CC / interrupt Fire Spit and purge its damage buff (Bolstering Flames) if you have a purge.
- Bloated Lasher - interrupt Fungal Bolt; its Spore Dispersal empowers nearby adds, so kill or interrupt it before it pops, and defensive through it.
- Phalanx Breaker - CC/avoid the Break Ranks charge (sidestep the line) and stop its Interrupting Screech; immune to most hard CC, so use displacements.
- Spectral Axethrower - Throw Axe applies a stacking bleed (often onto the healer's targets); chain-CC it to delay throws and cleave it with the pack.
- Ardent Cutthroat - interrupt Poison Blades; positions for cleave so group it with melee.
- Flesh Behemoth - spread for Fetid Spew (avoid the ground ichors) and have the tank defensive Brutal Chop.
- Creeping Spindleweb / Fervent Apothecary / Lingering Marauder - sidestep Poison Spray, Phial Toss, and out-range Gore Whirl respectively; minor but avoidable group damage.
🌀 Seasonal Affixes
Midnight Season 1 replaced the old rotating weekly pool with a laddered affix system that layers in by keystone level. Here is how each layer plays inside Windrunner Spire:
- Lindormi's Guidance (≈ +2 to +4) - the on-ramp affix. It marks a set of enemies with Temporal Sands and weakens those marks so groups can read priority targets, and it disables the per-death timer penalty. Great for learning the route and the boss-one fire-stacking with no death pressure.
- Xal'atath's Bargain (≈ +5 to +11) - one of four rotating bargains is active. Ascendant: kill the orbs with stops (dispels, interrupts, displacements) not damage — Windrunner Spire already wants those tools up, so hold a kick/knockback. Voidbound: swap to and burn the Voidbound Emissary while interrupting its Dark Prayer. Pulsar: you get a big window to stack and clear Pulsars together — easy to handle on the open boss arenas here. Devour: needs MULTIPLE dispel sources, so bring class/racial dispels beyond the healer; this stacks awkwardly with the dungeon's existing curses/shields, so plan dispel coverage.
- Fortified / Tyrannical (≈ +7 to +9) - Fortified makes the caster-and-melee trash hit much harder, so the interrupt rotation and pull sizing matter more; Tyrannical beefs the bosses, making Kroluk's add gate and The Restless Heart's Squall Leap rotation the real time sinks.
- Both Fortified & Tyrannical (+10+) - trash and bosses are both dangerous; this is where clean fire-stacking on Emberdawn and disciplined arrow rotations on The Restless Heart separate timed keys from depletes.
- Xal'atath's Guile (+12+) - deaths become much more punishing (≈ −15s each). Pre-plan tank-buster defensives (Searing Beak, Bone Hack, Rampage, Tempest Slash) and never trade a death for a greedy pull.
🎁 Notable Loot
| Boss | Highlights | Trinket |
|---|---|---|
| Emberdawn | 2H Sword, Staff, Cloth Head, Mail Wrist, Plate Hands, Leather Waist | Emberwing Feather |
| Derelict Duo | 1H Mace, Cloth Shoulder, Plate Waist, Leather Legs, Mail Boots | Latch's Crooked Hook |
| Commander Kroluk | 1H Axe, Leather Shoulder, Mail Hands, Cloth Legs, Plate Boots | Kroluk's Warbanner |
| The Restless Heart | Bow, Off-Hand, Plate Head, Neck, Mail Shoulder, Leather Chest | Heart of Wind |
💡 Role Tips & Common Wipes
- TANK — Pre-mitigate every tank-buster: Searing Beak (cover the hit AND the DoT) on Emberdawn, Bone Hack on Latch, Rampage on Kroluk, Tempest Slash on The Restless Heart (face away from the platform edge so the knockback doesn't fling you off). On Kroluk, bait the second Reckless Leap yourself after a DPS baits the first.
- TANK — Pull caster packs into walls and knock mobs OUT of Spellguard Magus protection spheres so the pack stays killable. Keep mobs grouped for cleave but don't over-pull past your group's interrupt count.
- HEALER — Pre-ramp for the scripted group-damage windows: Burning Gale (Emberdawn), Splattering Spew (Derelict Duo), and especially each Rallying Bellow (Kroluk, 66% and 33%). Bring a dispel for Curse of Darkness, Soul Torment, and the Devour bargain — Windrunner Spire leans on off-healer dispels.
- HEALER — On The Restless Heart, watch Squall Leap stacks; the DoT does not decay, so if the group is slow to rotate through Turbulent Arrows your healing demand spikes every second.
- DPS — Interrupts win this key. Lock a kick rotation on Chain Lightning (Phantasmal Mystic) and Spirit Bolt (Restless Steward), and hold a stop for Ascendant orbs. On Kroluk, swap instantly to the Rallying Bellow adds — the boss is ~99% immune until they die.
- DPS — Even cleave on the Derelict Duo so neither twin out-paces the other (Broken Bond enrage), and clear your own Squall Leap stacks via the arrows on the final boss instead of relying on the healer.
- COMMON WIPES — (1) Dropping Emberdawn fire puddles in the open instead of one corner; (2) uneven Derelict Duo health triggering Broken Bond; (3) Kroluk adds surviving into a second Rallying Bellow; (4) un-rotated Squall Leap stacks or a Tempest Slash knockback off the roof on The Restless Heart; (5) sloppy trash interrupts letting Chain Lightning / Spirit Bolt chunk the group.